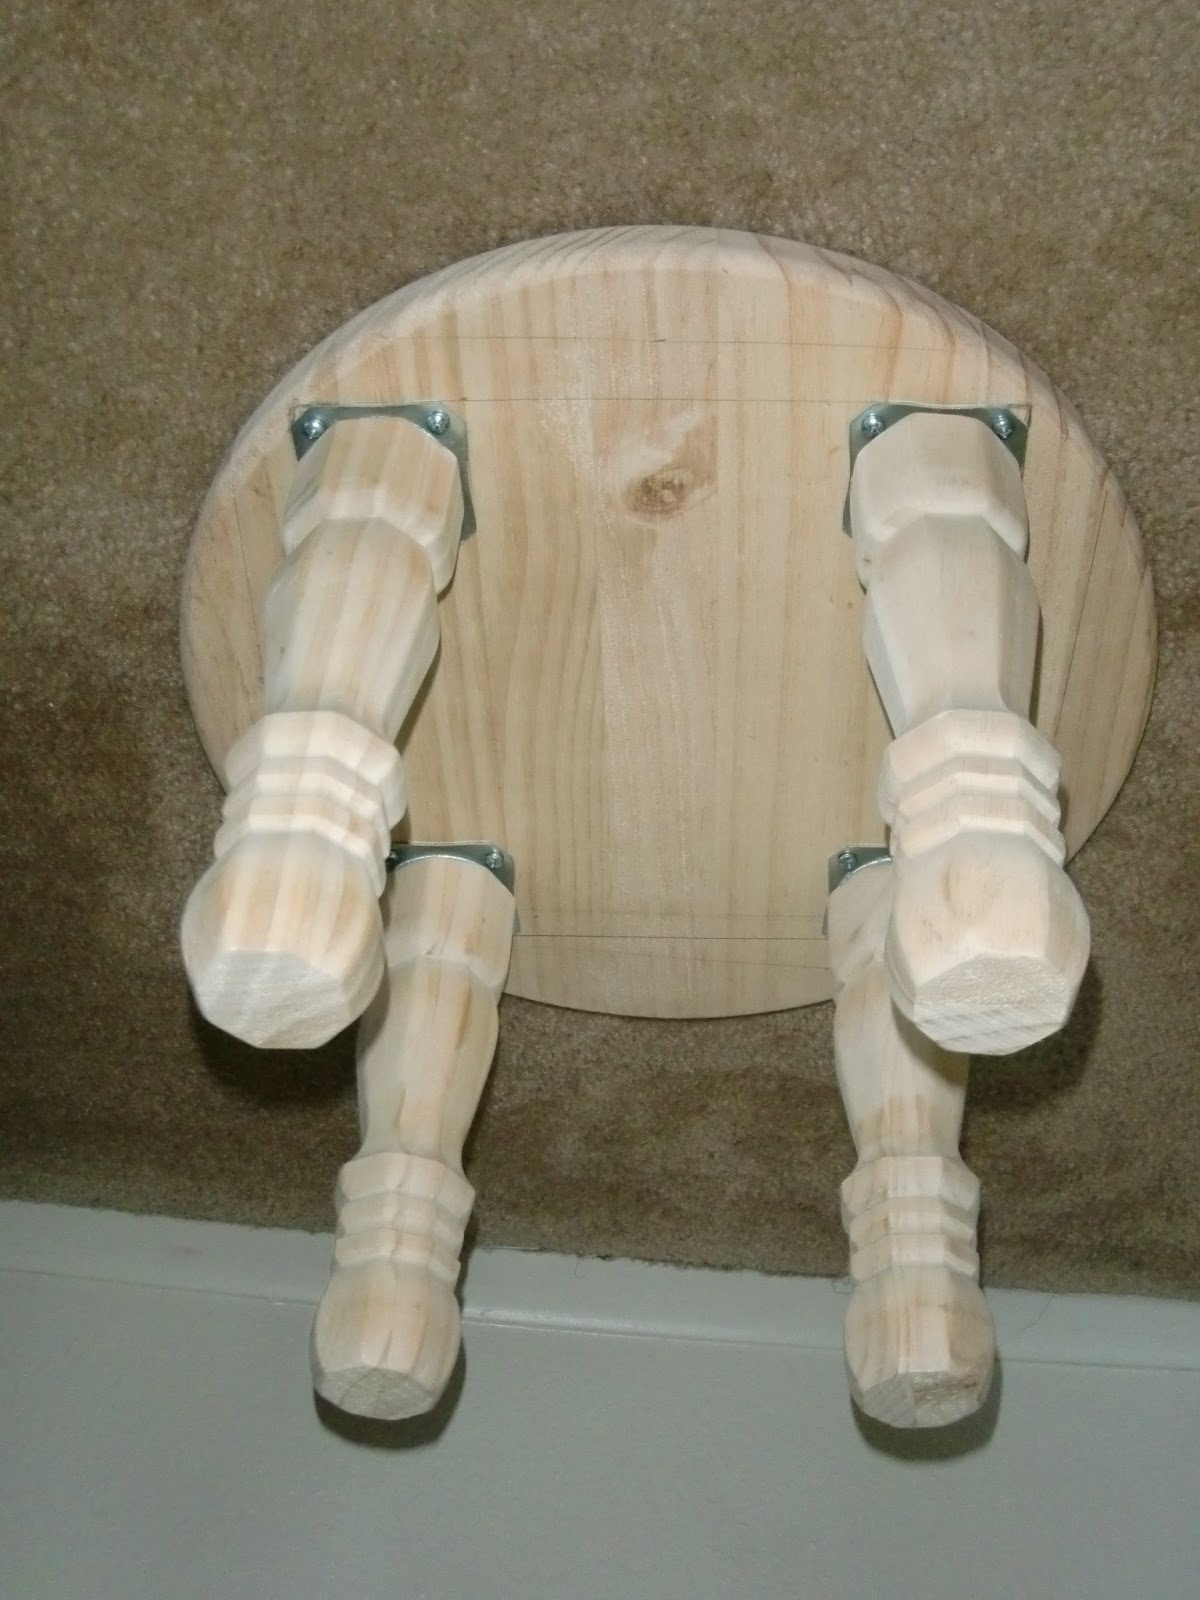
Supplies: (All of these I found at Lowes the total cost was about $25 bucks)
4 wooden legs
4 let mounts with hardware
1 round pre-cut piece of pine wood
Tools:
Power drill or hand screw driver
Ruler
Pencil
Dermal, metal file or drill bit (may or may not need)
Staple Gun (if upholstering)
Upholstery Supplies:
1 1/2 Yards Trim (I had extra but I wanted to make sure I didn't screw up.)
1 18" Square of foam
1 Box Nail Heads (I bought trim,foam and nails at Hancock Fabrics )
1 Yard 54" Fabric (Bought on Etsy Avisa Organics)
Lay out all your materials and make sure nothing is missing.
Measure out a perfect square on your round cut piece of wood. This will be the bottom. Mark the corners distinctly.
Each leg has a screw on its top side. Screw this into the base of the mount. Be aware that you may have to file off the end of the screw in order to get it to sit flush against the wood. You can also screw a small hole into the round wood stool top and just fit the screw into the bottom of the stool. This can be risky though because if the screw is longer than the round wood is wide it will stick out the top of the stool.
Fit the mounts right up to the corners you marked so distinctly and screw each one tightly into place.
(Tip: when screwing in the legs screw opposite corners to make it easier to line it up and lock it in place)

At this point you can paint or stain the stool, leave it all natural or you can upholster it. I chose paint and upholster.
To Upholster:I cut a piece of foam in a circle, tracing the top of the stool on the foam first.
Place the fabric on the floor (pattern side down)
Cut the fabric so its a square surrounding the circle of foam (don't cut it too close you have to have enough to pull tightly up and staple to the bottom)
Place foam on fabric in center
Place stool on foam
Pull opposite sides and staple gun the fabric to the bottom of the stool.
You may have to unscrew the legs in order to get a close tight staple. You also may need to pinch and pleat the fabric to get it to lay right.
Once fabric is tightly stapled in place nail the trim in place one nail head at a time all the way around. You can see above the black rim of trim because I chose to lay mine flat on its top to do this.
TA DA!
Mack-Dog wanted to show off the stool too. LOL
Nice work now kick up your feet and relax!
Creatively Yours,
Christina Marie.


No comments:
Post a Comment